For many of you readers who have been bored to tears with concrete and steel, this post might be where the project gets a bit more interesting and relatable. That certainly was the case with my wife who asked every day (for months): “When are we going to see walls?”
And truly, that is the mark of progress that many people look for. Getting beyond what essentially looks like a plan on the ground – the orthogonal suddenly being realized in three dimensions.
This post should also drive home the first of the three key items that I feel are the holy trinity of redefining new home construction:
- Insulation
- Air Barrier
- Ventilation.
The Passive House recommendation for exterior wall insulation in a climate such as ours targets an R value of between 39 and 51. I have chosen R50, which I will achieve with 12-¾ inches of mineral wool insulation in a combination of thickness layers that are readily available on the market. I selected mineral wool because it is perhaps the most environmentally friendly – superior (in my view) to fibreglass and insulations made from hydrocarbons via blowing agents (styrenes). “Why?” is a discussion for another day perhaps.
I also have considerable experience building with extruded polystyrene sheathing stemming from my R2000 preaching back in the 1980’s. That approach works well to reduce thermal bridging, but now I am ready to fall back onto tradition and use something that will actually hold a nail. I am simply tired of all that strapping nonsense.
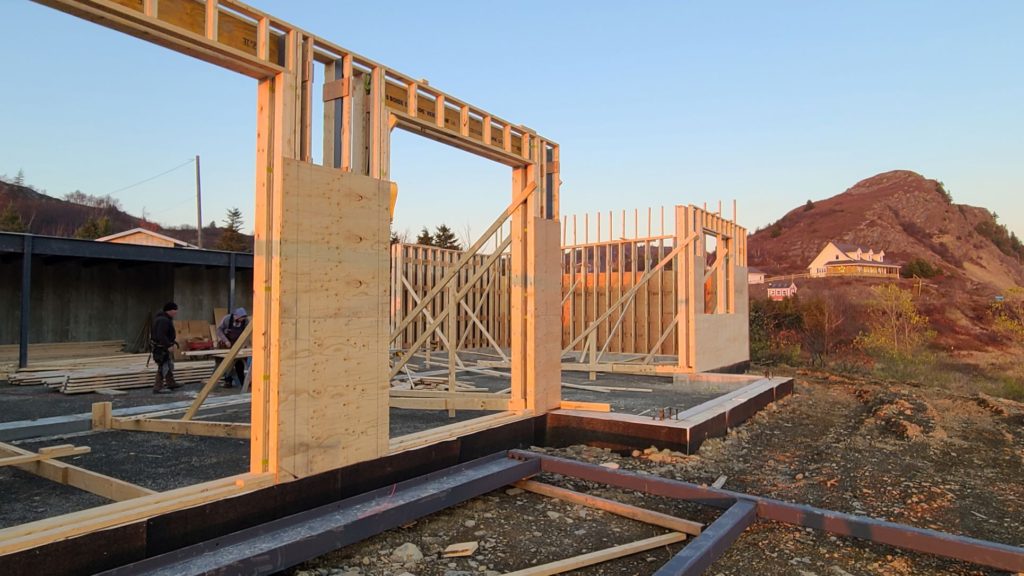
The exterior wall design is essentially a truss. This is in order to achieve a cavity of the depth required to pack in all that insulation. Studs have been replaced with assemblies that consist of a 2×6 loadbearing member, a 3-¾ inch gap with a 1-½ inch thick extruded foam spacer, and a 2×4 outrigger that will accept the exterior sheathing, weather barrier and finishes. Each assembly is held together with plywood gussets located and nailed according to specifics provided by my structural engineer. This is similar to a Larsen truss – developed in 1981 by Edmonton builder John Larson which consists of an internal and external 2×4 “chord” (on the flat) joined with an OSB (aspenite) web. It can be fabricated to provide any depth of wall cavity.
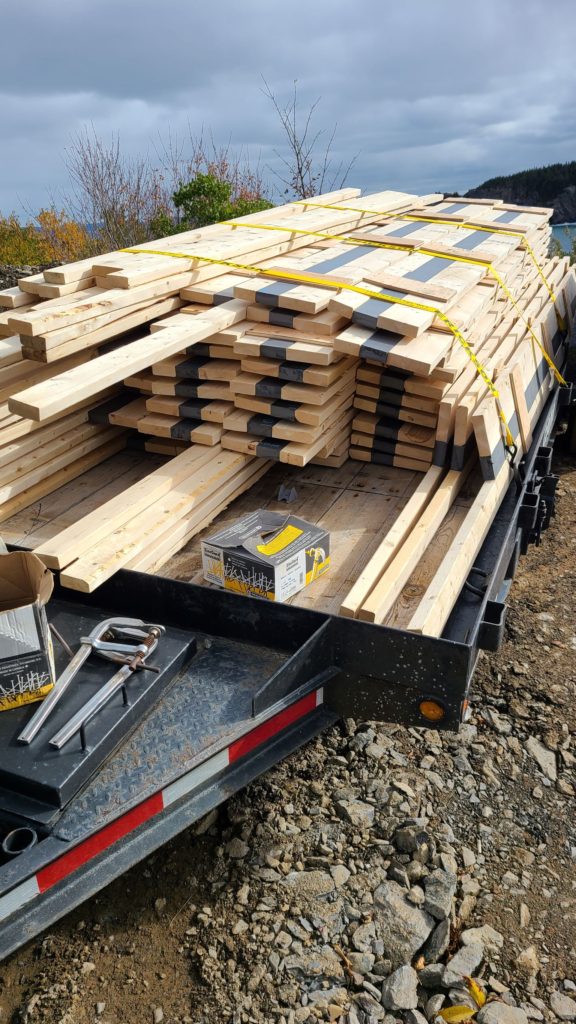
To provide a top-quality installation, my contractor chose to fabricate the exterior wall trusses in his warehouse and cart them to the site. This is how they looked when they arrived. They are already complete with a top (outside) extension that will form the parapet and a sloping (inside) top conforming to the roof shape. They have been numbered for proper sequence.
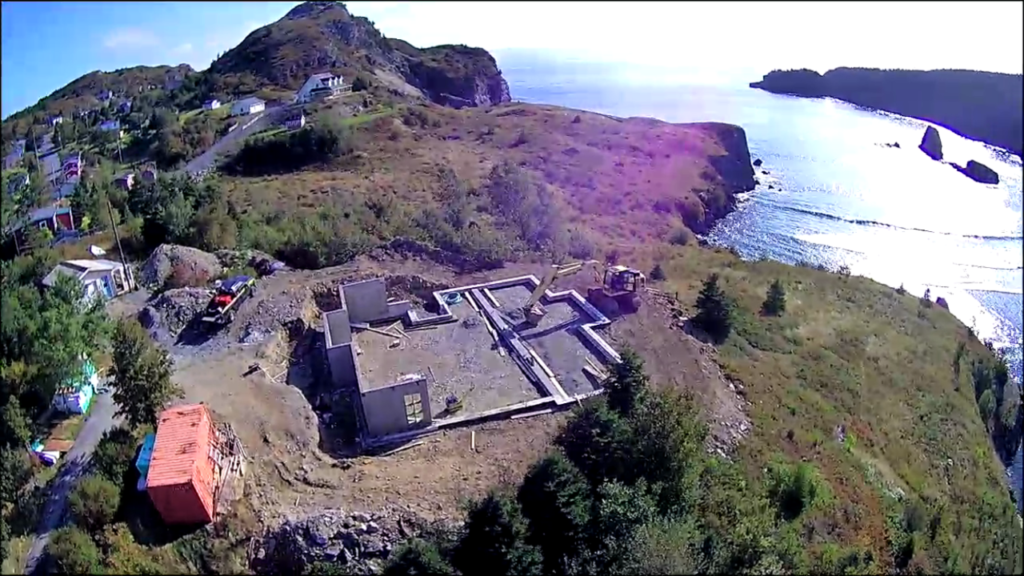
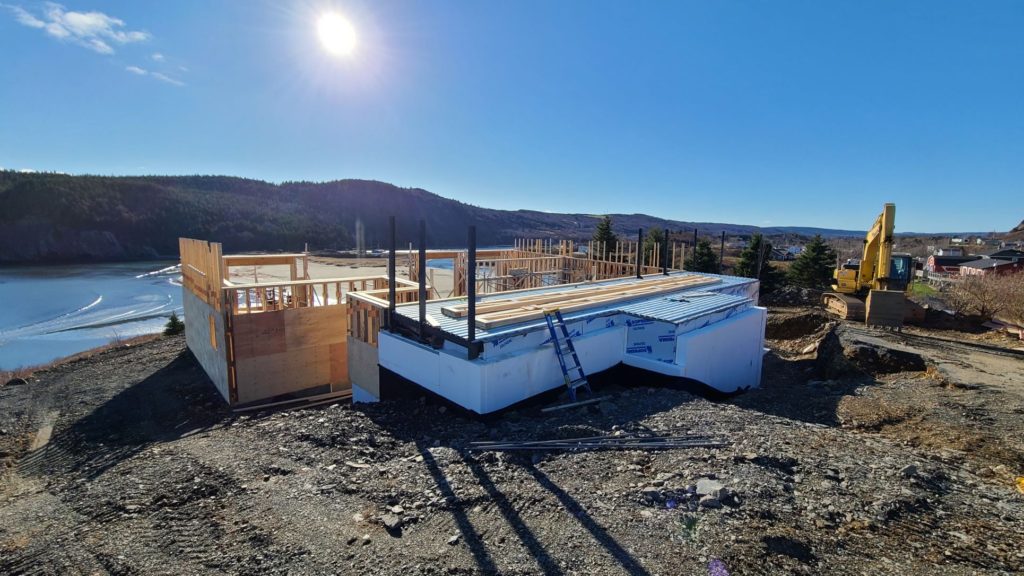
The interior of the foundation has been supplied with six inches of granular “A” stone and compacted to create a reasonable working surface on which the walls can be fabricated.


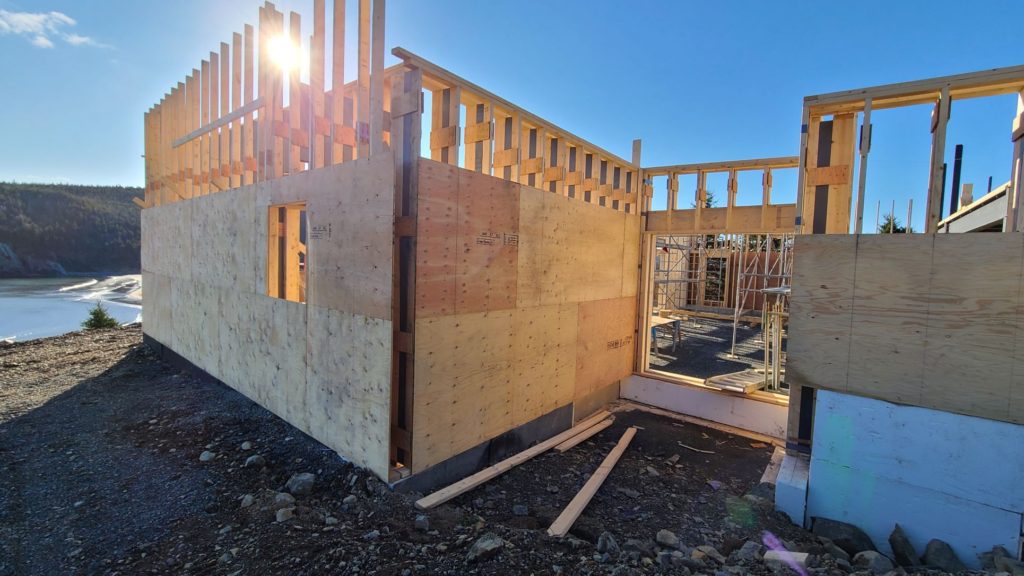
Once a section has been done and sufficient plywood has been installed to keep the panel from racking, that portion of wall is tilted up into place with the aid of the excavator bucket. The panels are far to heavy to be lifted by the crew themselves (as would be the case for traditional construction – something to plan for).

Once erected, you can get a better feel for the depth of the wall cavity that will eventually be filled with Rockwool. The wall trusses are modified around window openings where supporting lintels are built in.

The 2×6 interior loadbearing studs are located flush with the exterior edge of the concrete frost wall / foundation. This allows the plate of the non-loadbearing 2×4 studs to be flush with the frost wall exterior insulation. Once a wall has been erected, a significant amount of temporary diagonal bracing is used to stabilize the wall against wind loads, which, as we all know, can be significant in Newfoundland coastal areas. The bracing can be removed as more walls are erected but some will remain in place until the roof trusses are installed, complete with plywood decking (to create a horizontal diaphragm that will counteract wind loading).

My wife is happy to finally see walls. The place begins to take shape.
I thought mineral wool and fibre glass were the same thing.
Similar, but not the same. Fibreglass insulation is literally made from glass fibres and contains 20-30% recycled content. Mineral wool is made from volcanic rock (typically basalt) and contains in excess of 70% recycled content. Mineral wool insulation (or rockwool) is hydroscopic – meaning it cannot absorb or hold water. When fibreglass insulation gets wet it tend to hold water, potentially leading to fungus and mold issues.
Coming together just like your plan 👍. Going to be one hell of a view. Interesting concept with the wall studding.
Not boring in the least! Thanks for ewxplaing the diff between fibreglas insulation and mineral wool. I don’t recall seeing mineral wool at local bldg. suppliers – perhaps I missed it.
Thanks Keith! Most local building suppliers don’t carry Rockwool (tradename) because it is more expensive. Having said that, it’s easier to get than it used to be because a manufacturing plant was set up in Quebec a few years ago.
Did you consider dense packed cellulose? There is an installer in your area and dense packing is better at spacing filling and decreasing the possiblity of a “bad” batt installation. from my experience most batt installations fall somewhere between a class I and class II installation. Dense packing would easily make this a class I installation. As you know, unfilled cavities increase the liklihood of interstitial condensation, change the convection and conduction properties of the installation so a good install is a must. Also wondering if there is a service wall inboard of the vapor retarding layer? It wasnt clear to me from your description. If so great, if not, it is another reason to go with dense packing. Working around wires and pipes with batt is a pain and dense packing can easily work around. I am wondering about the level of air tightness youre planning on going towards? and the air sealing details youre using to ensure it. BTW, there is no a local installer (I believe) that purchased the aeroseal license. Could be a good project to get the airtightness results youre looking for as it does allow for tuning your airtightness.
I have considered just about every option at every turn. I have had problems with cellulose in the past so I guess I am biased. As for unfilled cavities, that is the reason for the extruded insulation spacer that is an integral part of the wall truss design. And yes, there will be a service wall inboard of the the OSB air/vapor barrier. I will have zero electrical or mechanical installations in, or penetrations into, the wall cavity. There is a local Aeroseal Canada licensee – Steve Thorne. He and his team will be doing an Aeroseal exercise after the OSB Barrier is completely sealed. We hope to get the leakage rate down to 0.1 to 0.2 ACH.
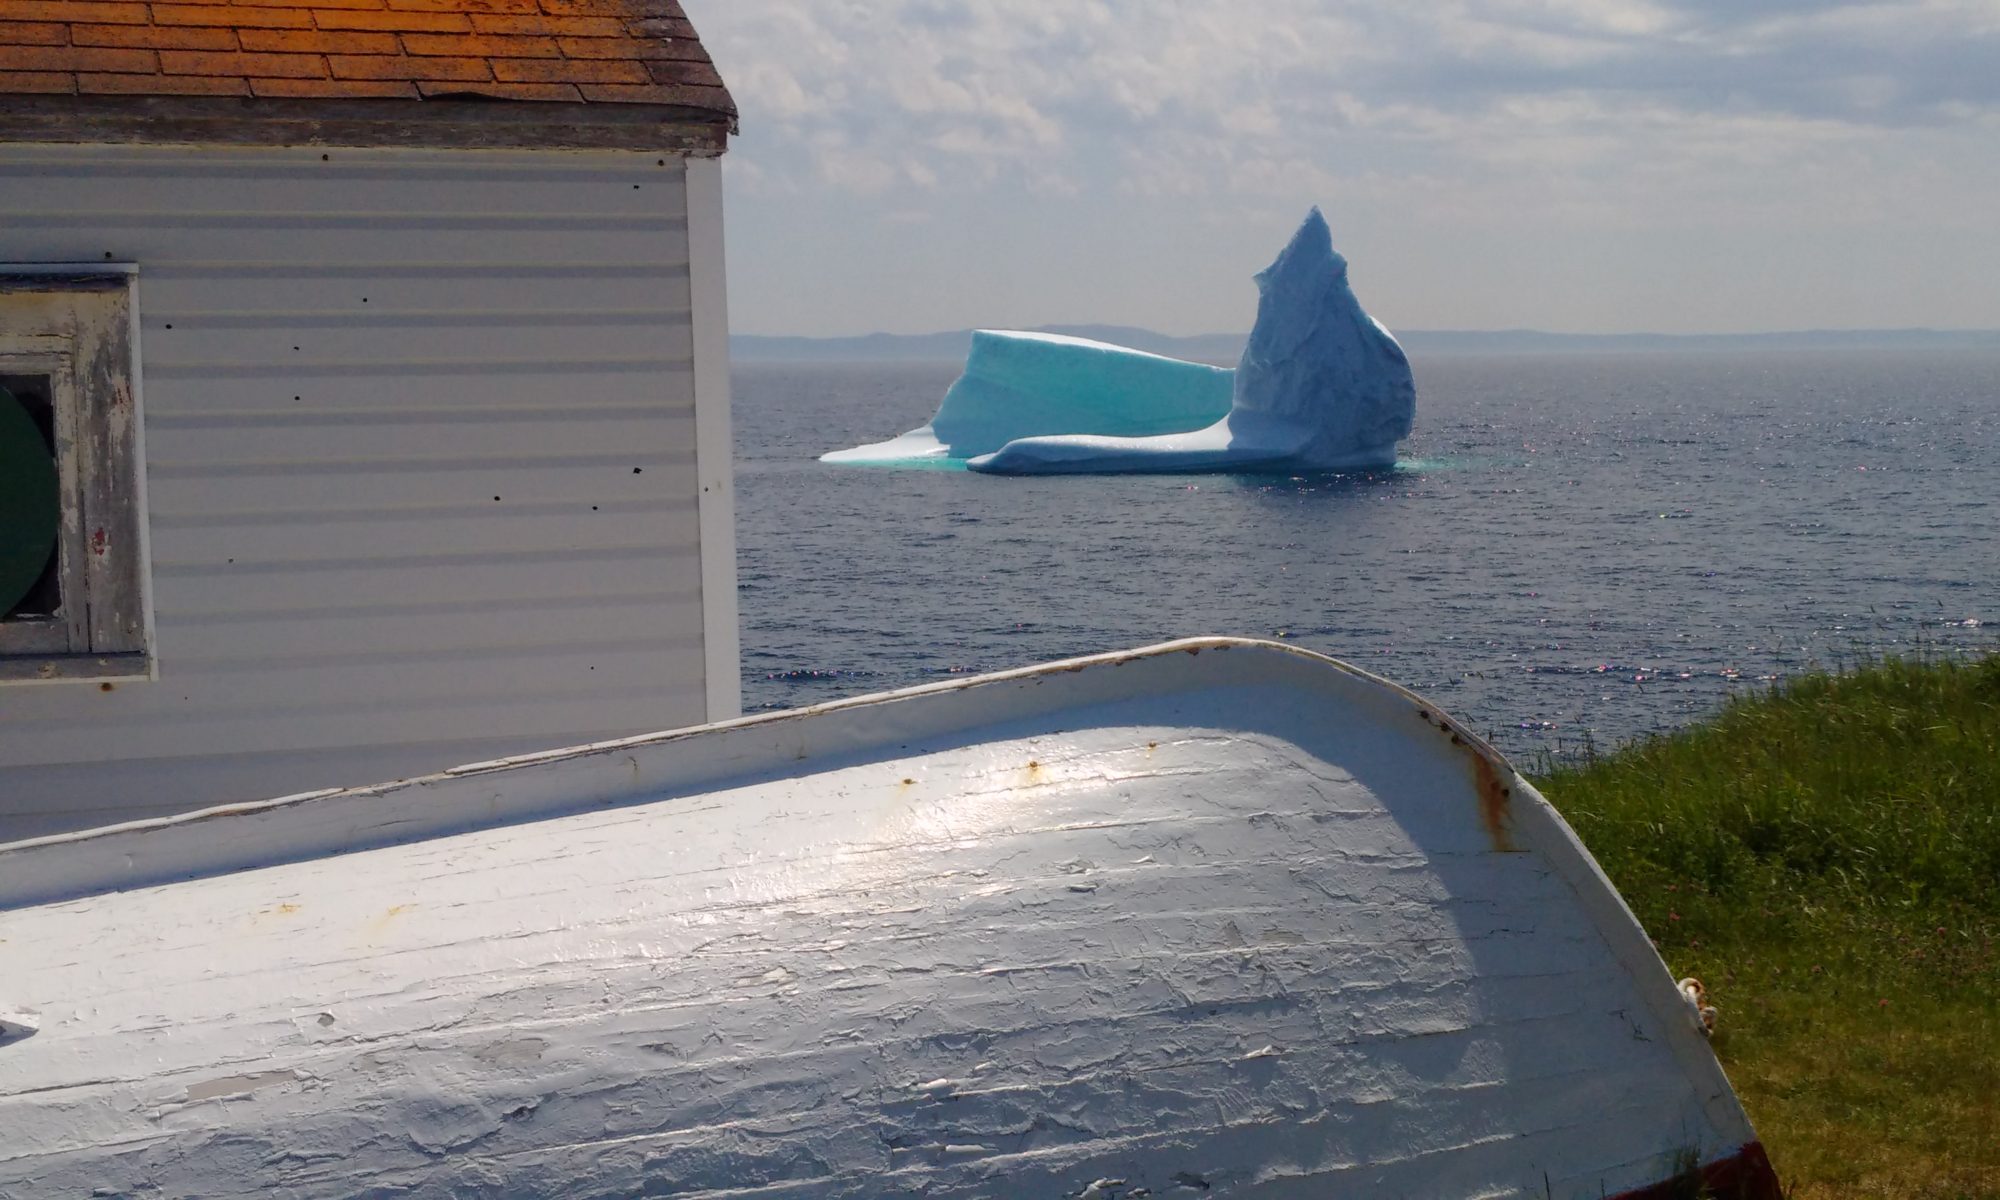
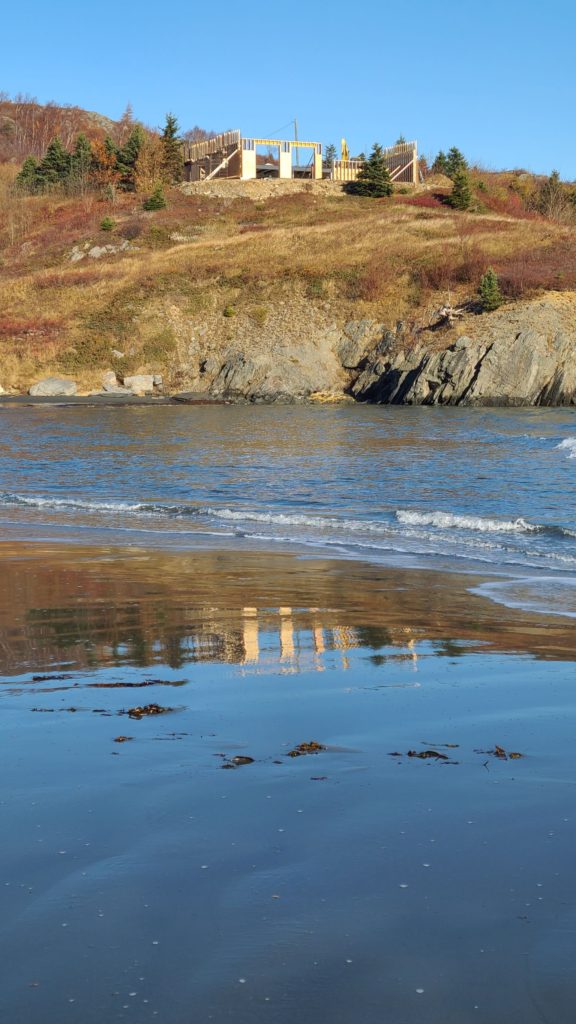
Looks fantastic Jim, and the view which I’m very familiar will be stunning